Showing posts with label How To. Show all posts

Turn Manjaro into multimedia streaming server with Plex Media Server

Tweak your Manjaro performance and usability with Plex Media Server. Plex Media Server is a free, rich features multimedia application that can turn your Linux box into a powerful multimedia streaming server. This tutorial is going to show you how to install and configure Plex Media Server on Manjaro 17.0 series. PMS is available on AUR repository so we need to make sure that AUR repository is enabled on Manjaro.

By having Plex Media Server on your network you can play your favorite collections from any devices such as PC, Laptop, Smartphone (Android or iOS), PS4 and some other supported devices. On some countries, you can also integrate and play your online Televisions on Plex.

Installing Plex Media Server on Manjaro is very easy. Simply follow these steps below to get started.

Install Plex Media Server on Manjaro

Step 1. Open Add/Remove Software
Step 2. Type plex media server on the search box
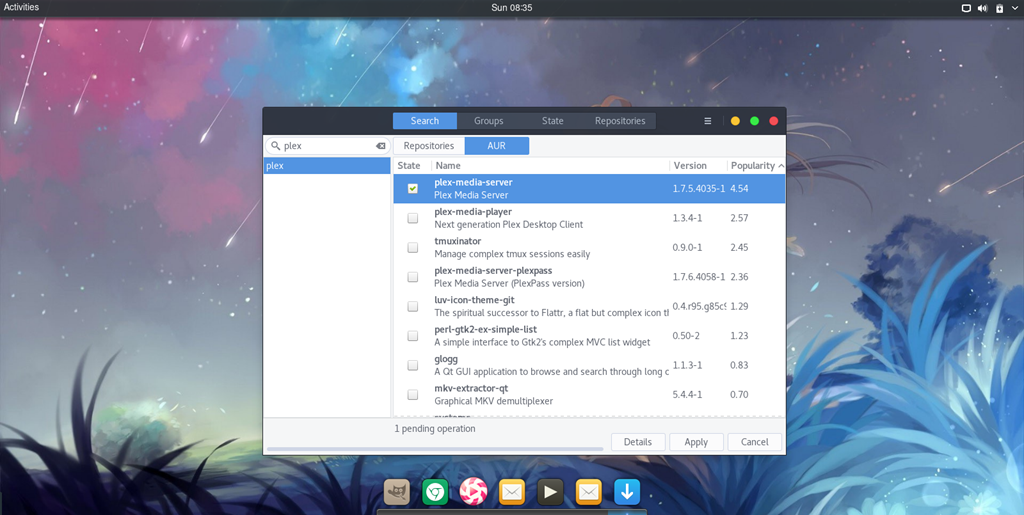
install plex on manjaro

Click AUR and then mark plex media server from the list. Press Apply to start the installation. You will be asked to enter the root password to continue. This process will take some times and will download about 100 MB of files from the internet.

Once finished open a web browser and type Manjaro IP address with the following format:

http://ip-address:32400/manage

The Plex Media Server web interface will open up. Now sign in to Plex. You may need to create free Plex account if you don't have it already.
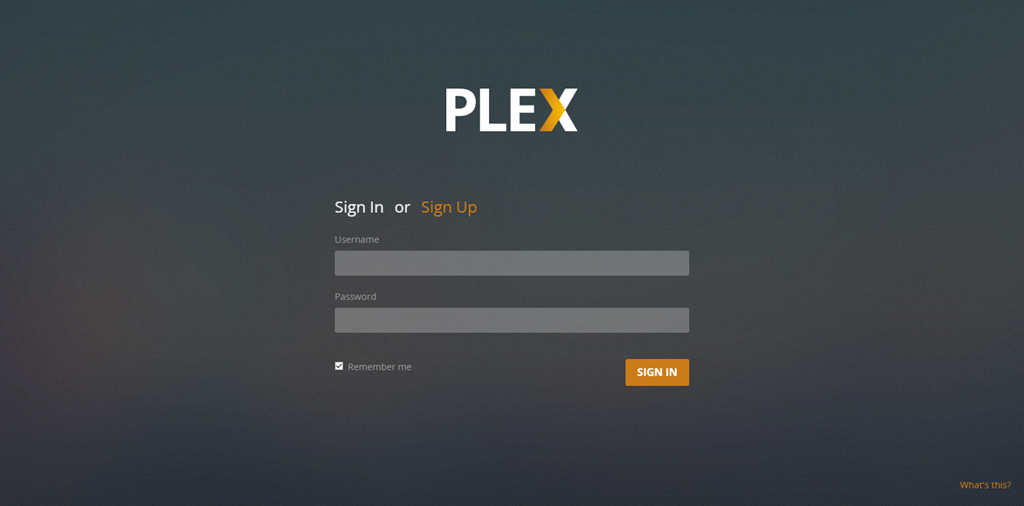
plex sign in

Once signed in, we need to configure some stuffs
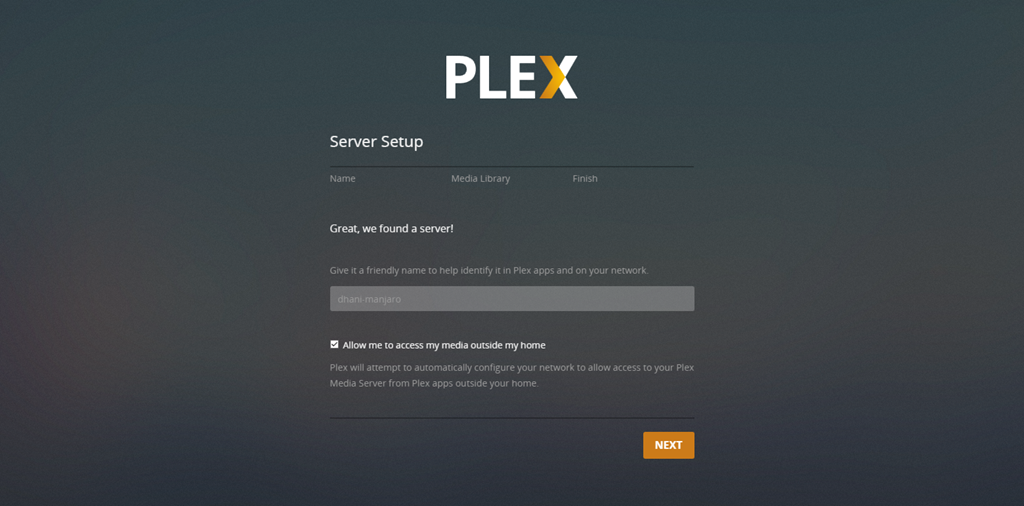
plex server setup

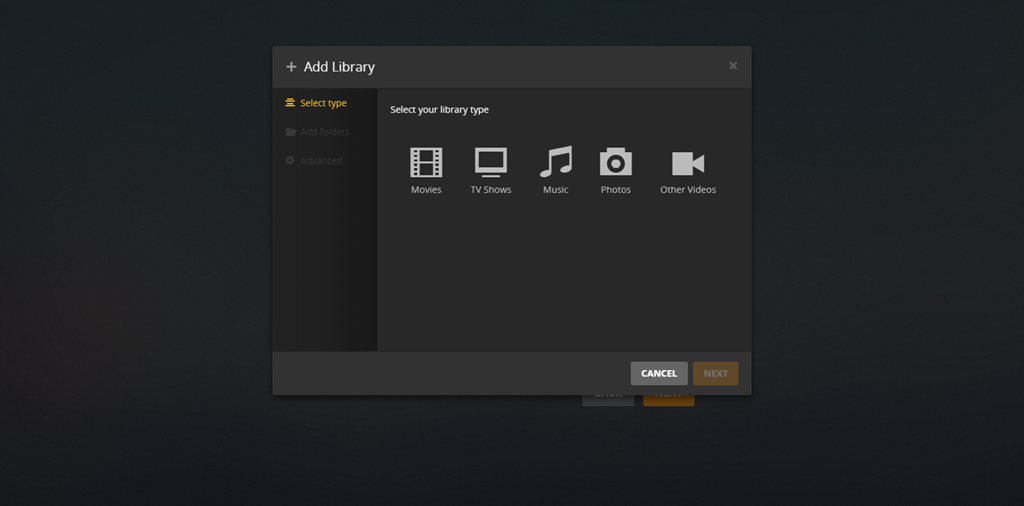
Add you media library to Plex.

plex add media

Once finished, you will see the Plex dashboard where you can see, manage and play your media.
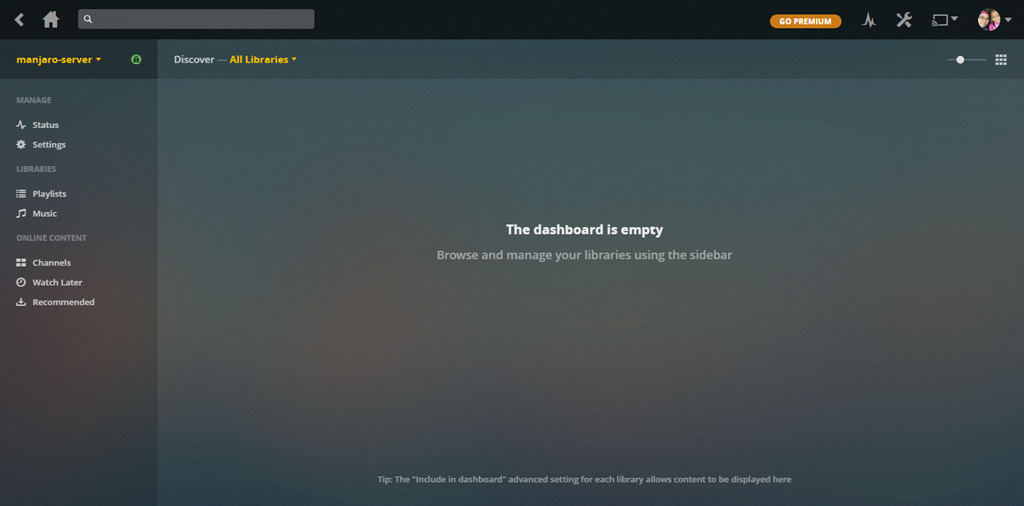
plex dashboard

How to connect to OpenVPN Server on Manjaro 17.0

This tutorial will show you how to connect to OpenVPN Server from Manjaro 17.0. I will connect to my existing OpenVPN Server installed on Debian 9 Server. If you build your own OpenVPN Server, make sure you download the .ovpn configuration file. This file will be used by the client to connect to the server automatically.

I assume you have a working OpenVPN Server and also you have .ovpn config file on hands. Next we can start configure Manjaro. Open Network, and the follow these steps shown below.

openvpn on manjaro[4]

Once connected, you can test or check your IP address via http://whatismyip.com. Your new IP address will be changed to the OpenVPN Server IP address.

I hope that helps and cheers.

Make your GRUB menu more eye catching with Vimix

Boring with the original black and white GRUB menu ? Don't worry, we can easily change or beautify GRUB menu using Vimix. Vimix is actually an addon for Grub Customizer that can be used to change the background of the Grub. It is good to have something like this upon system boot. 

Its nice isn't it? But how to make it? 
OK, first, we need to install two package. First, install Grub Customizer and also Vimix. You can use Pacman Software Manager or via Terminal. 
Search for vimix on the search box. And make sure you have enabled AUR repository. 
Install the package called grub2-theme-vimix-git. Don't forget to install Grub Customizer as well. 

How to change GRUB Background

  1. Open Grub Customizer and switch to Appearance Settings tab. 
  2. Select Vimix from theme list and then select background.png from the left panel.
  3. Load your own .PNG image using the Load file button at the bottom. 
  4. Once finished, go to File | Save.
  5. Reboot Manjaro.  


Grub Customizer, a GUI application to modify Grub menu

Grub Customizer is a special application that can be used to modify the Grub menu entries, color and some other settings. Its a handy application that comes with nice GUI. Grub Customizer can be installed on Manjaro via Pamac Software Center. When this post is being written, the Grub Customizer 5.0.6 can be installed through Pacman command or Pamac Software Center. 

install grub customizer on manjaro

What Grub Customizer can do?

  • Edit boot menu
  • Change Grub background color
  • Change the default Grub entry
  • Modify boot delay

How to install Grub Customizer

Use the following command to install Grub Customizer on Manjaro
sudo pacman -S grub-customizer
Thank you


Make your Manjaro looks more eye catching with OSX-Arc Theme

OSX-Arc Theme is a cool and beautiful GTK Theme. This tutorial will show you how to install OSX-Arc theme on Manjaro Linux. I am using Manjaro 17.0 MATE on this tutorial but it can be installed on any Manjaro Linux version and edition. 

INSTALLATION

OSX-Arc is available on AUR repository. Make sure you have enabled AUR on your Manjaro prior to the installation. You can read this post to see how to enable AUR repository on Manjaro. You can either install OSX-Arch via Terminal or using Pamac Software Manager.
There are several version of OSX-Arc Theme. You can choose or simply install them all. Once installation completed, you can activate it via Appearance or Tweak Tool.

How to install Budgie Desktop on Manjaro 17.0

This quick tutorial is going to show you how to install the latest Budgie Desktop on Manjaro 17.0 desktop. Why Budgie? Budgie is believed as a simple, lightweight and beautiful desktop environment for Linux. It was made popular by Solus OS. Budgie is actually a fork of GNOME desktop but way simpler and more lightweight.
In order to install Budgie Desktop on Manjaro, all you need is a working network connection. The Budgie Desktop is included in Pacman repository on Manjaro. You can either install Budgie Desktop via Terminal or Pacman GUI.

Install Budgie Desktop via Terminal

If you prefer to install using Terminal, use the following command to update and install Budgie Desktop on your Manjaro Linux.
sudo pacman -Syu
sudo pacman -S budgie-desktop
The download process will started and in few minutes, the Budgie Desktop should be installed.

Install Budgie Desktop via GUI

Open Pacman software manager and type budgie on the search box. You will see any packages related to budgie will show up. Select budgie-desktop from the list and mark it for installation. Press Apply to confirm and the process will started.
install budgie on manjaro 1
Optionally, you can also install budgie-wallpapers and manjaro-budgie-settings that will make Budgie Desktop more usable.
Once complete, simply log out and re login to the new Budgie Desktop.